News
How To Make A Simple Capacitive Touch Screen?
 How To Make A Simple Capacitive Touch Screen?
 How To Make A Simple Capacitive Touch Screen?
Content Menu
● Understanding Capacitive Touch Screen
>> Types of Capacitive Touch Screen
>> Step 2: Creating Touch Sensors
>> Step 4: Programming the Microcontroller
>> Step 5: Testing Your Touch Screen
● Enhancements and Applications
>> Potential Applications of Capacitive Touch Screen
● Troubleshooting Common Issues
>> 1. What materials can I use for my capacitive touch screen?
>> 2. How does a capacitive touch screen detect touch?
>> 3. Can I use any microcontroller for my project?
>> 4. What is the purpose of resistors in this project?
>> 5. How sensitive can my capacitive touch screen be?
Capacitive touch screen have become a fundamental part of our daily interactions with technology, from smartphones and tablets to kiosks and industrial equipment. This article will guide you through the process of creating a simple capacitive touch screen, explaining the underlying technology, necessary components, step-by-step instructions, and potential applications.
Understanding Capacitive Touch Screen
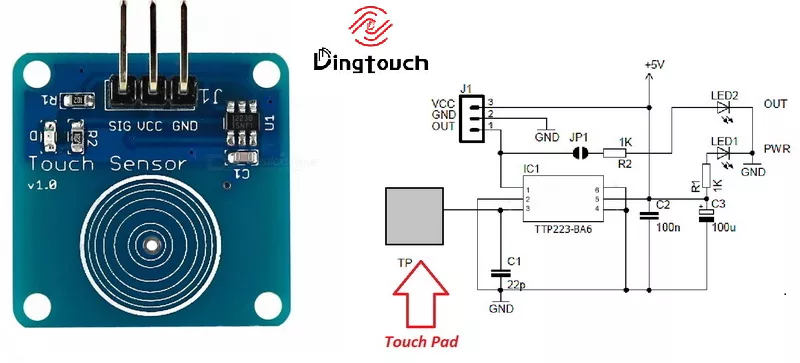
Capacitive touch screen operate based on the principle of capacitance, which is the ability of a material to store an electrical charge. Unlike resistive touch screens that rely on pressure to register a touch, capacitive screens detect touch through the electrical properties of the human body. When you touch the screen, your finger alters the local electrostatic field, allowing the device to register the touch.
Capacitive touch screen are known for their high sensitivity, multi-touch capabilities, and durability. They are widely used in modern devices due to their responsiveness and clarity. Understanding how these screens work is crucial for anyone interested in creating a DIY capacitive touch screen.
Types of Capacitive Touch Screen
There are two main types of capacitive touch screens:
- Surface Capacitive Touch Screens: These consist of a single conductive layer that detects changes in capacitance when touched. They are typically less sensitive than projected capacitive screens but are simpler and less expensive.
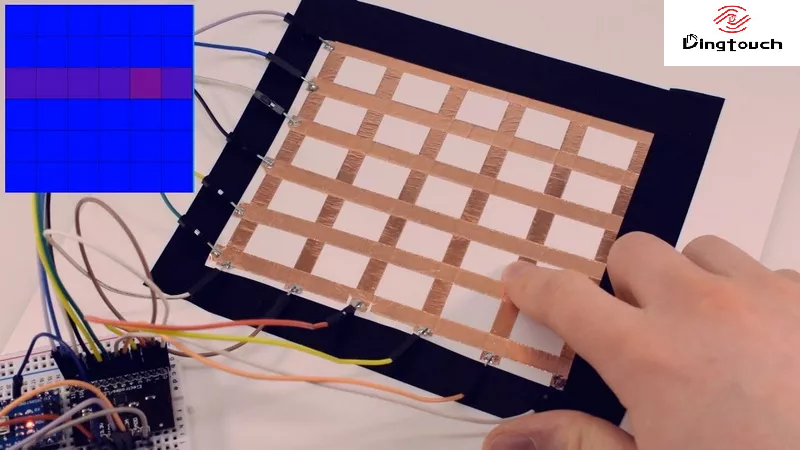
- Projected Capacitive Touch Screens: These use a grid of electrodes to create an electrostatic field. When a finger approaches the screen, it disrupts this field, allowing for more precise detection of multiple touches simultaneously.
Components Needed
To create a simple capacitive touch screen, you will need several essential components:
- Conductive Material: Aluminum foil, conductive fabric, or conductive paint.
- Non-conductive Base: A piece of acrylic or glass to serve as the screen surface.
- Microcontroller: An Arduino or Raspberry Pi to process touch inputs.
- Wires: For connecting the sensors to the microcontroller.
- Resistors: Typically 10 Megaohm resistors for each sensor.
- Breadboard: To prototype your circuit.
Tools Required
Having the right tools will make your project easier:
- Soldering Iron: For permanent connections.
- Wire Strippers: To prepare your wires for connections.
- Multimeter: Useful for testing connections and troubleshooting.
- Computer: For programming your microcontroller.
Step-by-Step Instructions
Step 1: Preparing the Base
1. Cut Your Base: Start by cutting your acrylic or glass to the desired size for your touch screen.
2. Clean the Surface: Ensure that the surface is clean and free from dust or fingerprints.
Step 2: Creating Touch Sensors
1. Design Your Sensor Layout: Decide on a grid layout for your sensors. A simple 4x4 grid works well for beginners.
2. Cut Conductive Material: Cut pieces of aluminum foil or conductive fabric into small squares or circles that will act as sensors.
3. Attach Sensors: Use adhesive to attach these conductive pieces to the underside of your acrylic or glass base.
Step 3: Wiring the Sensors
1. Connect Wires: Attach wires to each sensor using solder if necessary. Ensure that each wire is securely connected to its corresponding sensor.
2. Connect Resistors: Connect a 10 Megaohm resistor from each sensor to ground. This helps in creating a stable reading when touched.
3. Wire to Microcontroller: Connect all sensor wires to the appropriate pins on your microcontroller.
Step 4: Programming the Microcontroller
While we will not delve into specific code here, it is essential to understand that programming your microcontroller involves setting up libraries that allow it to read inputs from the capacitive sensors effectively.
You will typically need to initialize communication with your sensors and set parameters for sensitivity and response time based on your project requirements.
Step 5: Testing Your Touch Screen
1. Power Up: Connect your microcontroller to a power source and ensure all connections are secure.
2. Test Touch Inputs: Gently touch each sensor and observe if it registers correctly on your output display or serial monitor.
Enhancements and Applications
Once you have built your capacitive touch screen, consider adding more features or exploring various applications:
- Multi-Touch Capabilities: Upgrade your project to recognize multiple touch points simultaneously by implementing more complex circuitry or software algorithms.
- Interactive Applications: Create simple games or applications that respond dynamically to user inputs, enhancing user engagement.
- Custom User Interface Design: Design a user-friendly interface that enhances interaction experience through intuitive layouts and graphics.
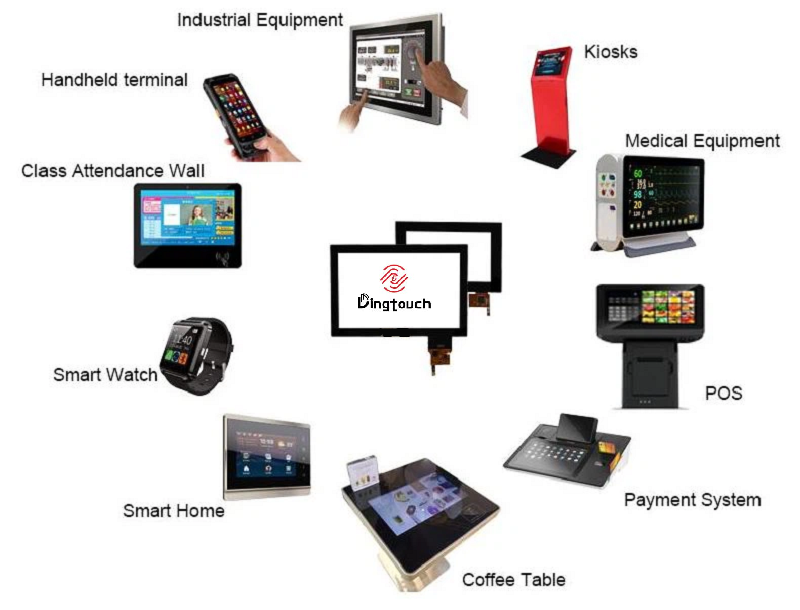
Potential Applications of Capacitive Touch Screens
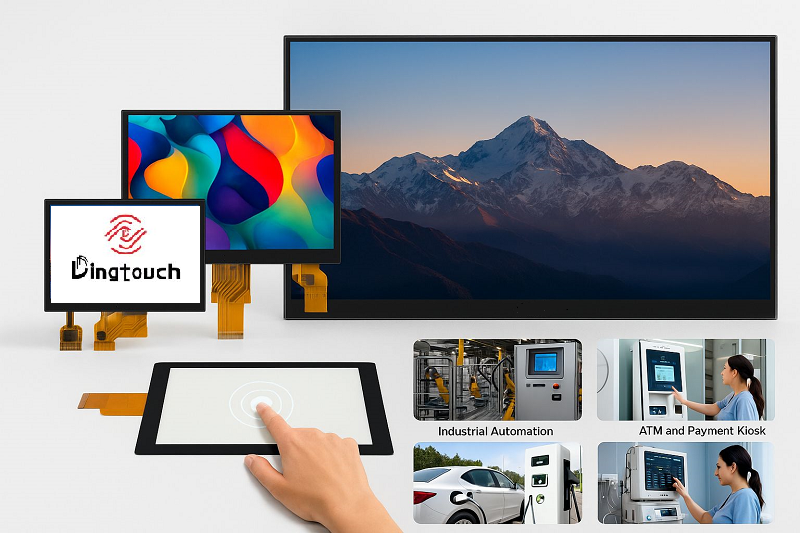
Capacitive touch screens have numerous applications across various fields:
- Consumer Electronics: Used extensively in smartphones, tablets, laptops, and gaming devices due to their responsiveness and accuracy.
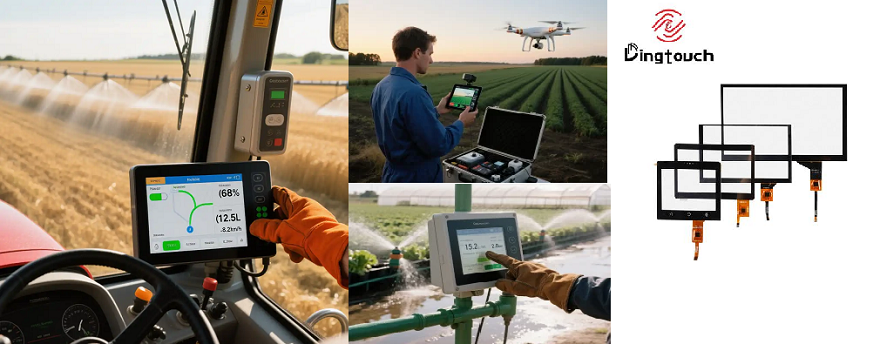
- Industrial Automation: Employed in manufacturing equipment for control panels where operators can monitor processes with ease.
- Healthcare Devices: Found in medical equipment such as patient monitors where quick data input is crucial for patient care.
- Smart Home Devices: Integrated into appliances like smart refrigerators and ovens allowing users easy control over settings through intuitive interfaces.
- Retail Environments: Used in point-of-sale systems enabling efficient transaction processing and customer interaction through self-service kiosks.
Troubleshooting Common Issues
As with any DIY project, you may encounter some challenges. Here are common issues and their solutions:
1. Touch Not Detected:
- Ensure all connections are secure.
- Check if sensors are properly calibrated; adjust resistor values if necessary.
2. Inconsistent Readings:
- Verify that there are no short circuits in wiring.
- Test each sensor individually using a multimeter.
3. Limited Sensitivity:
- Increase sensitivity by adjusting resistor values or changing sensor layout.
- Experiment with different conductive materials for better performance.
4. Ghost Touches (False Positives):
- This can occur with multi-touch setups; adjust grounding methods or use shielding techniques around sensors to minimize interference.
5. Software Issues:
- Ensure that libraries used are compatible with your microcontroller version; update as necessary.
- Debug code systematically by checking outputs at various stages of execution.
Conclusion
Creating a simple capacitive touch screen can be an exciting project that enhances your understanding of electronics and programming while providing practical skills applicable in various fields of technology today. With just a few materials and some coding skills, you can build an interactive device that opens up numerous possibilities for creative applications—from gaming interfaces to smart home controls.
Frequently Asked Questions
1. What materials can I use for my capacitive touch screen?
You can use aluminum foil, conductive fabric, or conductive paint as touch sensors along with a non-conductive base like acrylic or glass.
2. How does a capacitive touch screen detect touch?
It detects touch by measuring changes in capacitance when a conductive object (like a finger) comes into contact with its surface.
3. Can I use any microcontroller for my project?
Yes, both Arduino and Raspberry Pi are popular choices for building capacitive touch screens due to their compatibility with various libraries and ease of use.
4. What is the purpose of resistors in this project?
Resistors help stabilize readings from sensors by providing a discharge path for stray capacitance, improving accuracy when detecting touches.
5. How sensitive can my capacitive touch screen be?
Sensitivity can be adjusted by changing resistor values and modifying code parameters in your microcontroller's programming environment.
By following these steps and understanding how capacitive touch screens work, you can create your own interactive devices and explore further innovations in this exciting field of technology!
DINGTouch:Committed to continuous innovation and improvement of product quality to meet customers' high requirements and expectations.
DINGTouch is a manufacturer that provides high quality touch screen panels. Focus on the design, manufacturing and sales of touch screen panels, and are committed to providing customized solutions that satisfy customers.
DINGTouch: In the process of customizing touch screen panels, we focus on close cooperation and communication with customers. Understanding customers' needs and providing customized solutions will meet customers' individual needs. The company's products are favored by customers for their high quality and reliability, and provide them with the best touchscreen panel solutions.
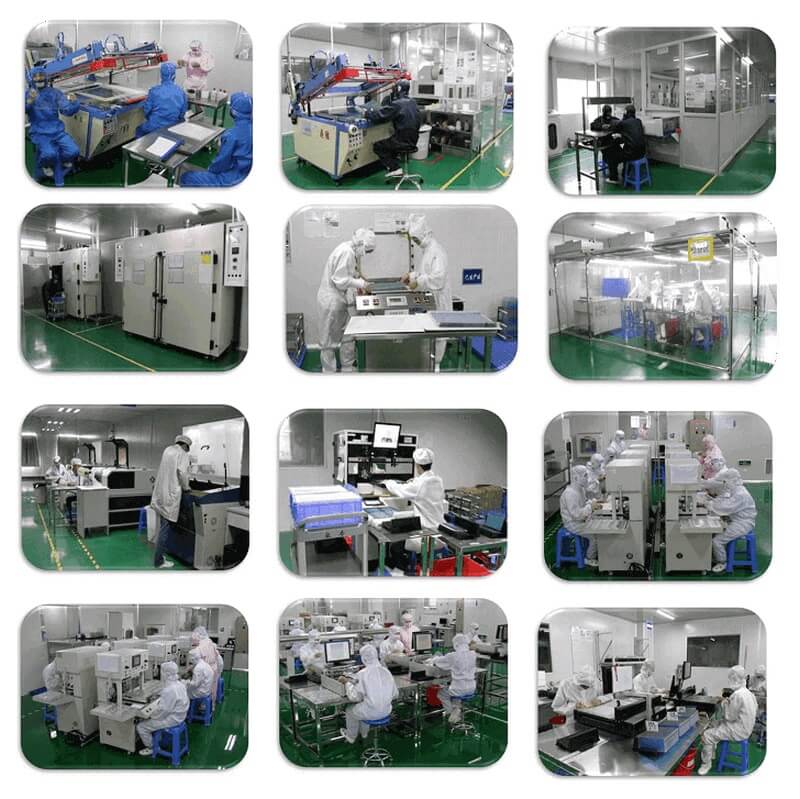
DINGTouch is a company specializing in the R&D and production of touch screen technology, headquartered in Shenzhen, China. As a professional touch screen supplier, DINGTouch is committed to providing high-quality, stable and reliable touch screen products to meet the diverse needs of customers. We continue to carry out technological innovation and product optimization to ensure that its touch screen products have good sensitivity, accuracy and durability.
In addition to the products themselves, we also focus on cooperation and communication with customers, and are committed to providing customized solutions and excellent after-sales services. Through continuous efforts to improve product quality and customer satisfaction, we have established a good reputation in the touchscreen industry and won widespread market recognition.
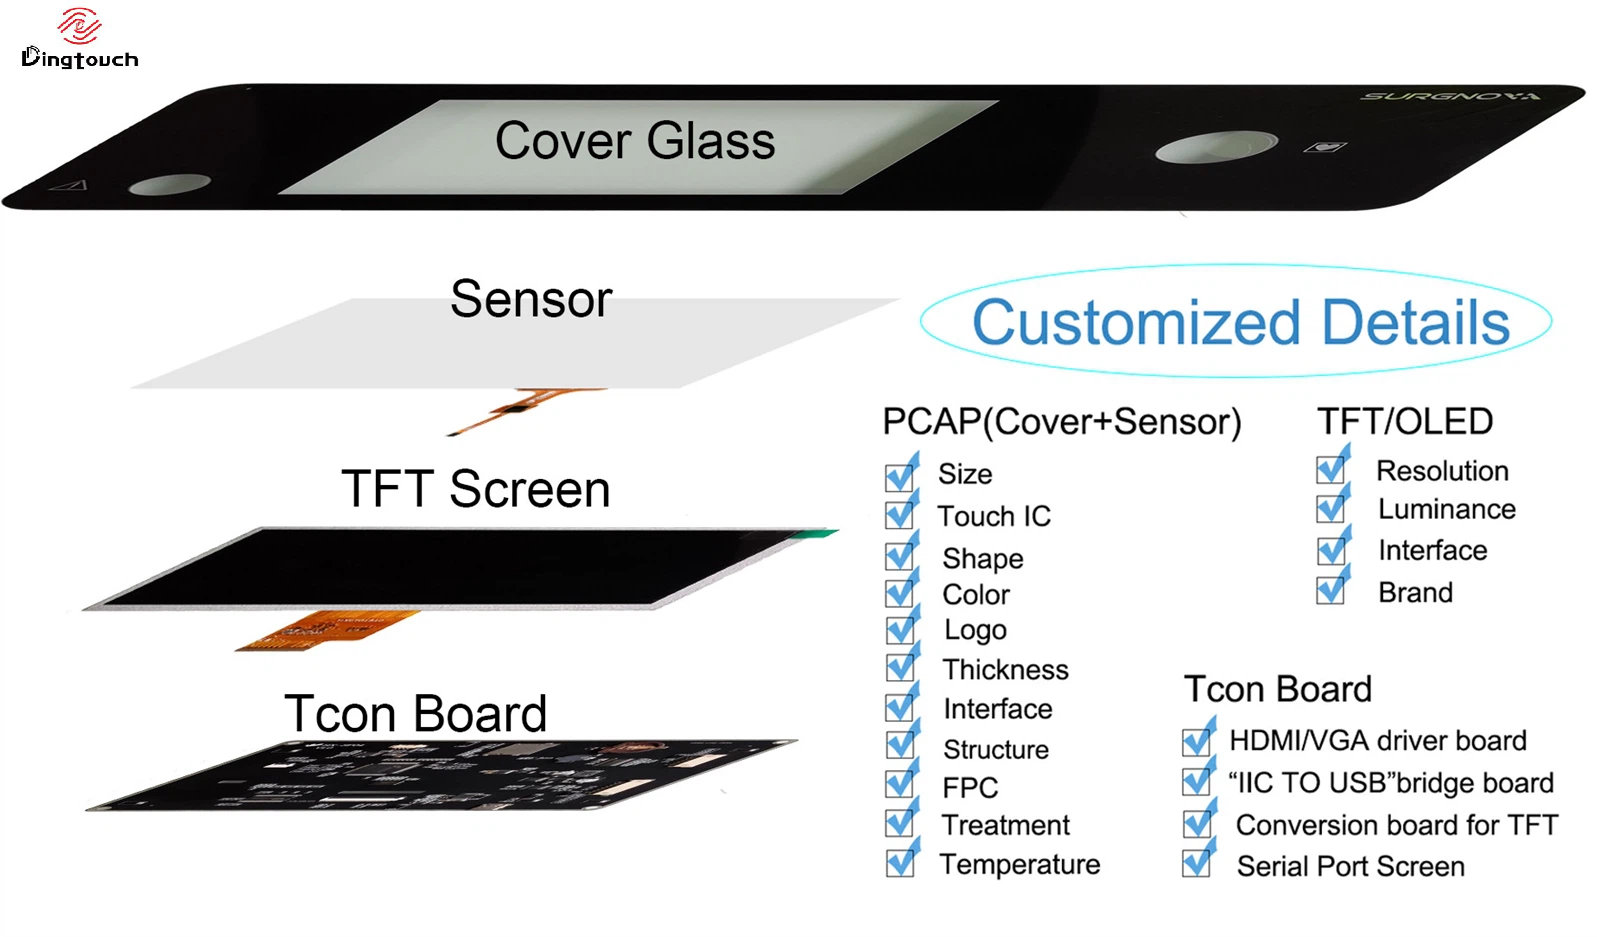
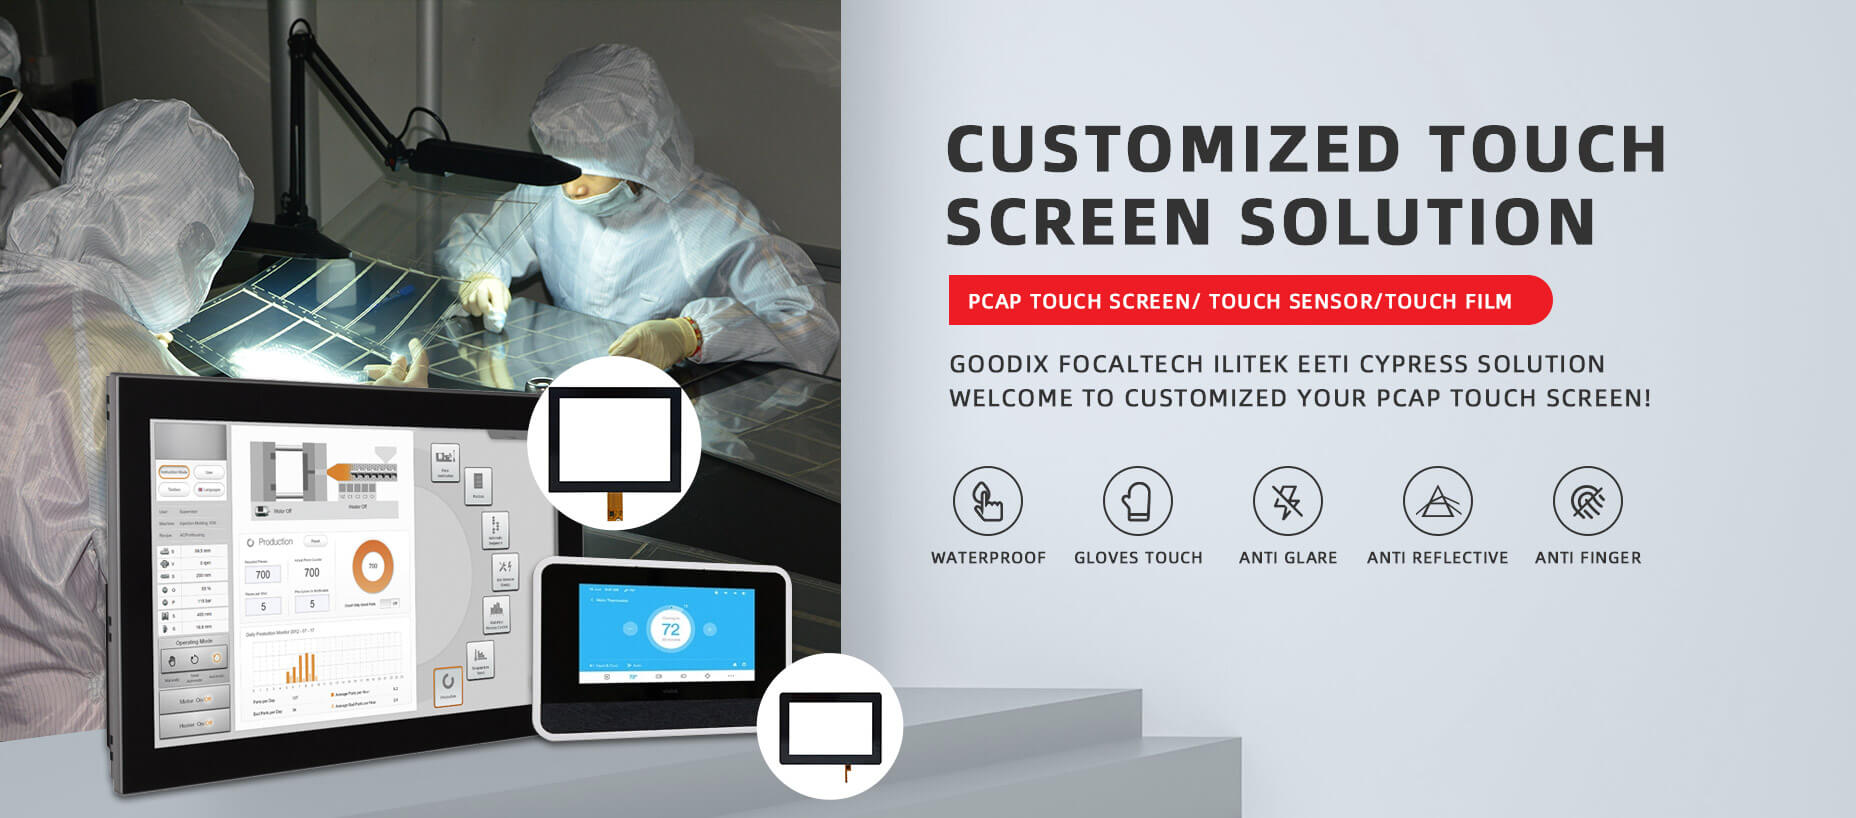
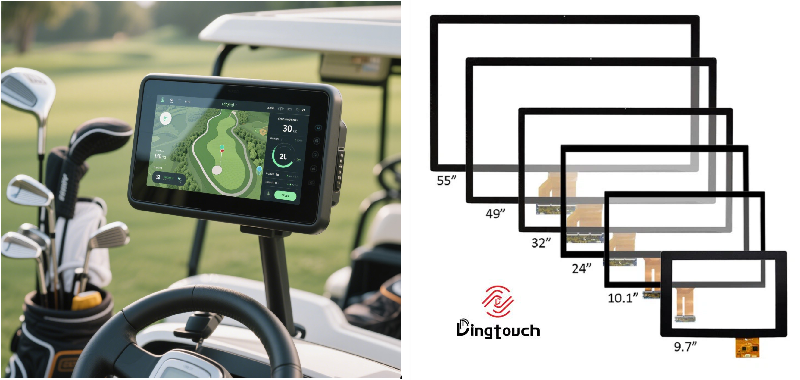
• PCAP maximum size 65”
• Multi-touch (Touch screen can be customized to your needs.)
• Optical bonding service/air bonding
• LCD interface: HDMI/RGB/MIPI/LVDS/EDP, etc.
• PCAP interface: IIC/USB interface
• CTP can customize the cover glass surface treatment process AG (anti-glare), AR (anti-reflection), AF (anti-fingerprint), waterproof, and glove touch
• Supports 0.55 mm-12 mm coverslip touch.
• Support operating temperature: -40℃-90℃.
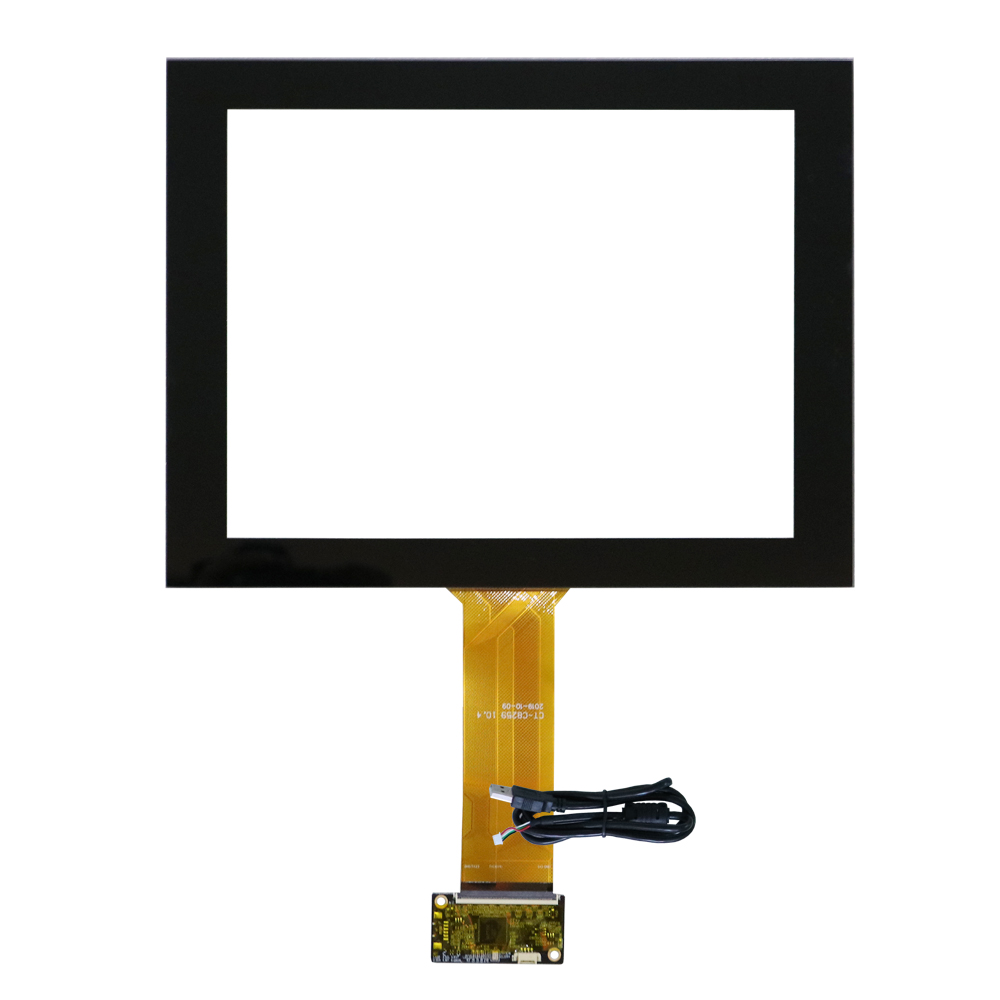
In conclusion, Dingtouch as a professional touch screen manufacturer with more than 10 years touch screen experience.We have many capacitive touch screen. Such as 5 inch touch screen,7 inch touch screen,10.1inch touch screen,15 inch touch screen,15.6 inch touch screen,17 inch touch screen,18.5 inch touch screen,19 inch touch screen,21.5 inch touch screen,32 inch touch screen, However, we also welcome to customize your own touch screen . Contact our team today to learn what capacitive touch screen are best for our retail business needs.
Contact us NOW! sales@szdingtouch.com

What DINGTOUCH can do:
Dingtouch Industrial Capacitive Touch Screen Manufacturer
CATEGORIES
CONTACT US
Contact: Dingtouch
Phone: +8615815536116
Tel: +8615815536116
Email: sales@szdingtouch.com
Add: Building A, Bailu Plaza, No. 48, Gonghe Industrial Road, Gongle Community, Xixiang Street, Baoan District, Shenzhen,China. 518126





 Dingtouch